Tutorial for Dreamshell/Dreamcast G1-ATA HDD MOD

[*] 03-19-2020 –  Please go here for the new FAQ/Tutorial I have made http://www.dc-swat.ru/forum/thread-3695.html 

I moved it there because I think it is a better spot for it. Plus, it would give the creator a little extra ad revenue.

If there is anything you would like to add to that FAQ/Tutorial, or if you see any errors that need to be fixed, you can leave a comment. Preferable at the dc-swat.ru site, but if you don’t want to join their forum, you are welcome to leave a comment here [*]

[*] 03-08-2020 – This is sloppy and a bit out of date but I’m going to leave this here. Please go here http://www.dc-swat.ru/forum/thread-3695.html  For the new FAQ I made [*]


[*]The tutorial below was last changed on 04/07/2015 [*]

I didn’t include anything on using the Isoloader settings, as the details are beyond me. All I can say is check what settings are working for what games by checking the GDI compatibility list below. I can also say that using DMA can help with any games that experience lag.

[*]Before you do anything, download DreamShell 4.0 RC 3 CDI Image from http://www.dc-swat.ru/page/dreamshell/ so you can test out the HDD mod. This will save you a lot of time when trouble shooting any issues.

If Dreamshell is not recognized in the Iso Loader after loading straight from CD, You more than likely have problem with the HDD mod itself and will need to check your connections. If you have one, you can try another HDD just to be sure.
Keep in mind that a portion of games are not compatible yet. See the compatibility list and the windows CE lists below. This should change soon from what has been going on in the development of Dreamshell lately

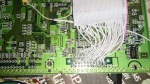
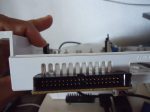
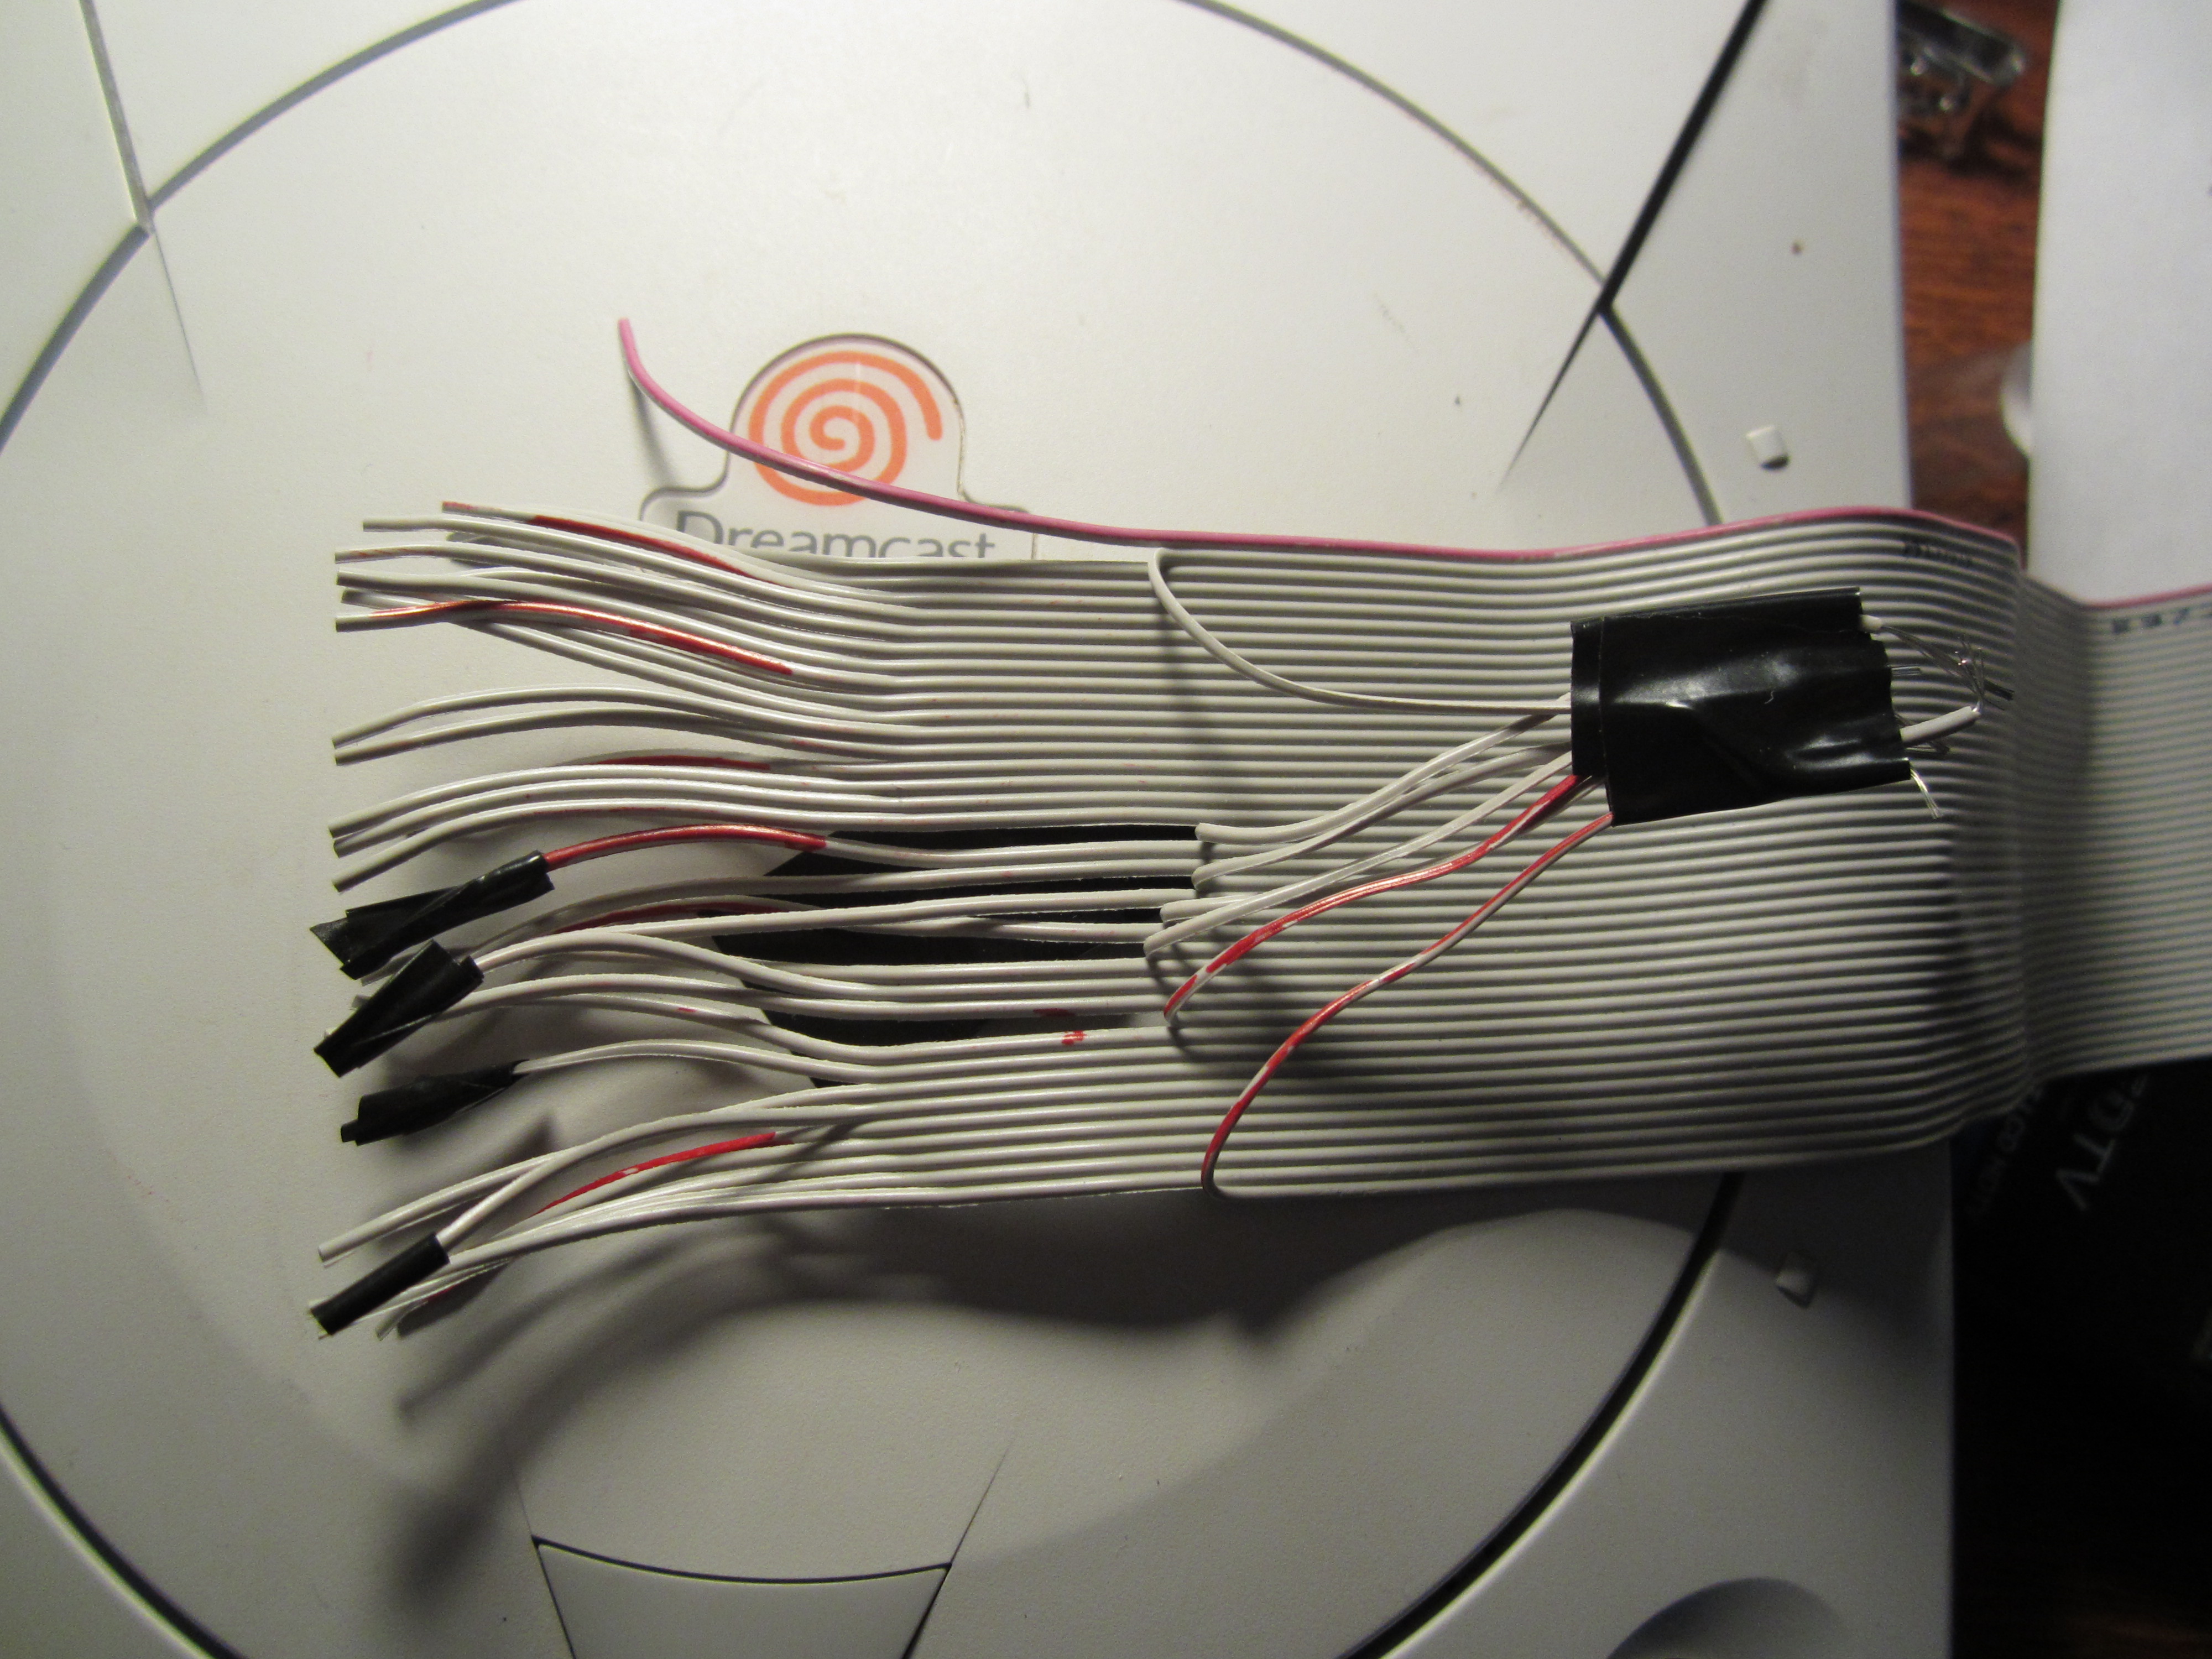
This thread assumes that you have already done the needed hardware mods. Here is some info on those mods.
G1-ATA Mod
Here are some links to tutorials and other information pertaining to Hard modding your Sega Dreamcast to connect to a hard drive.
https://fnhack.wordpress.com/2014/10/11/links-for-the-dreamcast-g1-ata-hdd-mod/
*edit – Gillbert made a nice pinout….use it:)
http://www.theisozone.com/forum/viewtopic.php?f=144&t=54537

Bios Mod[*]Keep in mind, You do not need the bios mod if you do not want it[*]
Here is a tutorial on how to mod your Dreamcast with a dual bios. You can not flash the original bios on the Dreamcast. This mod isn’t exactly needed, but it is real nice to have.
http://www.mmmonkey.co.uk/sega-dreamcast-region-free-bios/

Now to the Dreamshell stuff. [*]You might want to use Google Translate for some of the DC-Swat links

HDD
1 Format to FAT32. Use one Primary Partition and use the maximum cluster size.

2 Set jumpers to slave

3 Once connected, turn on the HDD before you turn the Dreamcast on.

The mod calls for an IDE HDD, if you use a SATA HDD you will need an IDEtoSATA adapter (the adapter needs to have jumpers also.)

The adapters made by Startech.com seem to work great for people. I haven’t done this mod with a SATA HDD, so I can’t suggest anything other than that adapter.

Optimizing GDI’s
First, Here is a compatibility list of known working GDI’s
http://www.dc-swat.ru/forum/thread-2145.html

DS works best with optimized GDI images. You can use CDI’s and other image types (including non-optimized GDI’s) and they may work perfectly fine, but optimized GDI’s work the best. Some games that fail to load as CDI will work fine as an optimized GDI.

Here is something I found on the Dc-swat site……….

“Use Any Format supported: ISO / GDI / CDI / CSO, But I Recommended use clean ISO or GDI Optimized Images. A CSO it’s compressed ISO.
All utils for Optimizing or compressing you CAN Find in ISO Make Pack. CDI in its purest form, I do not recommend that you use, as well as not optimized GDI, because it is slower and does not support pseudo-async for SD and true async for the IDE.
I tried to make another pseudo-async support for CSO images, but postponed it due to some problems, so images CSO work as before only with the usual emu async.
In general use ISO or GDI and optimized to get maximum results. ISO is a little bit faster if GDI two tracks with the data (not
so it is better to use the optimized GDI or ISO images.”

So…..
Images supported (ISO / CSO / CDI / GDI). But I recommend using optimized GDI or ISO, so you can enjoy a true async DMA, it requires clean sector data (2048)

  1.  Get a GDI image. You can get them here or elsewhere on the net.
  2.  Go here http://www.dc-swat.ru/page/dreamshell/ and download the Iso make pack v2.3.
  3.  Extract the file and move the folder sys and the file optimize_gdi.bat to a separate folder. You will use this folder to optimize your GDI’s. Sorry, Windows only:)
  4. Take all the contents of the GDI and place them in that folder.
  5. Double-click the optimize_gdi.bat file and let CMD do all the work. When the program is finished, CMD will close on its own.
  6. Finished. Delete the sys folder, the optimize_gdi.bat file, and feel free to delete the .raw files.

The amount of files that make up a GDI will vary, but generaly you will be left with one .gdi file, .iso files, and sometimes an IP.bin file. Optimizing GDI’s will also save you a lot of space too, around 300mb, give or take.

Also, if you are using alot of GDI’s, you could make folders on the HDD,. The iso loader in DS will not separate your files alphabetically for you (In retrospect, this is more a limitation of FAT32). So, I suggest naming your folders, “A”, “B”, etc… and create those folders in that order. This is only an option though.

Loading Dreamshell from the HDD

This is not normally how this is done, but there is a new DS_core and bios in the forums. So, this is how this will go for now, until maybe RC-4 comes out.

This new bootloader will allow you to boot straight from HDD, without the need for an SD card, and allows for full compatibility.

1 Go to DC swat http://www.dc-swat.ru/page/dreamshell/ and download the most recent Dreamshell + Bootloader. At the moment DS is in RC-3.

2 Extract the file and place the DS folder to the root of your HDD.
[*] The DreamShell_boot_loader_v2.3.bin file is not needed[*]

3 Go here https://github.com/DC-SWAT/DreamShell/blob/master/build/DS_CORE.BIN to download the most recent DS_core.bin. Click the button marked RAW to download. (when RC4 come out, you will not have to do this step)

4 Place that file in your DS folder. It should copy/replace the old.

5 Burn DreamShell_boot_loader.cdi to a CD-R.

6 Play the disk and you should be good to go. Be sure to turn the HDD on before you start the console.

Now if you want the Bios flashed (remember, you can’t flash the original bios)

7 Go here https://github.com/DC-SWAT/DreamShell/tree/master/build/firmware/bios/ds to download the bios. You can either download boot_loader_unlock_G1_IGR_dbs.bios to have the dev-box start-up animation or download boot_loader_unlock_G1_IGR_sbs.bios for the normal Sega startup animation.

Also….http://www.dc-swat.ru/forum/thread-2246-post-28638.html#pid28638….For more info on this bios

8 Place the bios on your HDD

9 Switch to the bios you want flashed

10 Run the Bios Flasher application from Dreamshell

11 Press WRITE, select the downloaded BIOS and press CONFIRM

12 Finished. Now you should be able to load Dreamshell without the need of the GD-ROM drive.

[*]Remember, If you want to remove your GD_ROM drive….[*]
You will have to attach AICA clock manually to pin B23. You need to install an active crystal 33.8688 MHz
See Here for schematic http://www.dc-swat.ru/blog/hardware/874.html
Also see this link http://www.dc-swat.ru/forum/thread-2257.html

This info might help for getting a bios chip
http://www.dc-swat.ru/forum/thread-2241.html

VMU Application
This is a new Dreamshell application that allows you to add, remove, backup etc… the save files from you VMU. This app is really nice
http://www.dc-swat.ru/forum/thread-2236.html
Just place the folder in your /DS/apps folder

Playing a Multi CD Game?
http://www.dc-swat.ru/forum/thread-2248.html

Windows CE/MMU games
Currently, these games do not work. Here is a list of them
http://segaretro.org/Windows_CE
http://www.dcemu.co.uk/vbulletin/threads/43804-WinCE-games-List

IDE to Compact Flash adapter?
I found this on DC-Swat. Keep in mind that it is translated from Russian.

“CF does not have any problems, speed enough. But HDD works a little better in some cases, though the games were designed for disk cache, and it does not matter in the drive or if he HDD, are there alone. In general, they are not designed for flash memory have been, but it is just a handful of games, so it is not necessary to dwell on it too much.”

IDEtoSD?
Doesn’t seem to be a good idea from what little I have read :D

Reset game from Dreamshell
http://www.dc-swat.ru/forum/thread-2240.html

Other useful links
http://www.dc-swat.ru/forum/thread-2231.html
http://www.dc-swat.ru/forum/thread-2250.html

Soldering to the motherboard

There really isn’t too much too say about finishing this project because all that is left is the soldering. Now, my pics are coming from 2 1/2 projects (so the pics may not look consistent).

A little disclaimer first. If you have never soldered before, don’t learn on your dreamcast. That would be wouldn’t be smart:) You have been warned. TO BE HONEST, THIS TUTORIAL COULD BE BETTER. I WILL IMPROVE IT IN THE FUTURE.

First, the pinouts again
DSC_0947

DSC_0948

Now, look at the pin out of the motherboard. We are going to start with the “A’s.” I like to start with A2 and work my way over to A19.

If you want the led indicator. You will have to start with A1, connecting the power of the led to A1. Using the resister between the wire on the board and the power wire on the led. Then connect the ground to wire 39.

Then I like to solder a separate wire to A8. This will be connected to you’re ground wires from the IDE cable

You can do the same thing for the other “A’s” on the board.

While holding the wire that I am going to solder, I like to hold the cable between my pinky and ring finger

While holding the wire that I am going to solder, I like to hold the cable between my pinky and ring finger

Because I’m paranoid, I like to put electrical tape over the exposed wires
IMG_0180

When I do the “B’s” I prefer to stagger them instead of doing them one row at a time. Again, preference. So I’ll go B4,B5,B6,B7 and so on. While I’m doing this I’ll put a little piece of tape on the back row. So, it’s more like B4,B5, then I’ll put a tiny piece of electrical tape in between the two. B6,B7, then I’ll do the tape thing again and so on.

Sorry, I would put a pic here but I completely forgot to take the last pics, (Haha, this is the second time I’ve done this) I just realized this. So here is a pic that I’m going to take from Les, who’s mod I posted earlier. I will edit this whenever I do this mod again.
gphdd2

That pretty much is it for the motherboard.

When it comes to the case, that is pretty much up too you. I just cut a big hole in the back of the DC from the vent down. I also cut out a piece of the RF shielding to make room for the cable. I think people just throw that thing out, I might be wrong though. I keep it because it has thermal pads on there. I’m paranoid about little things.

Another idea I had was to cut a hole on the bottom of the DC and have the cable sneak out that way, since the cable is flat after all. That would look a bit sleeker. I might do that some time. If you look at the links I posted earlier, you will see that people do all sorts of things. This mod we are doing is the simplest.

Links for HDD mod & other DC stuff

—————————–
English installation video :
—————————–

———————————————
Alternative FAQ and instruction in Russian :
———————————————
https://ands-gamer.ucoz.ru/index/0-9
* https://web.archive.org/web/20200310004928/https://ands-gamer.ucoz.ru/index/0-9

————————–
Other Links For G1-ATA Stuff
————————–
http://www.dc-swat.ru/blog/hardware/874.html
https://web.archive.org/web/20191109044537/http://www.dc-swat.ru/blog/hardware/874.html

http://ayasuke2.exblog.jp/22180838/
https://web.archive.org/web/20200303015324/https://ayasuke2.exblog.jp/22180838/

http://paulski.com/zpages.php?id=1717
https://web.archive.org/web/20200303015501/https://paulski.com/zpages.php?id=1717

http://ayasuke2.exblog.jp/22173084/
https://web.archive.org/web/20200303015549/https://ayasuke2.exblog.jp/22173084/

http://ayasuke2.exblog.jp/22186596/
https://web.archive.org/web/20200303015727/https://ayasuke2.exblog.jp/22186596/

http://ayasuke2.exblog.jp/22198193/
https://web.archive.org/web/20200303015824/https://ayasuke2.exblog.jp/22198193/

http://ayasuke2.exblog.jp/22208901/
https://web.archive.org/web/20200303015900/https://ayasuke2.exblog.jp/22208901/

http://ayasuke2.exblog.jp/

https://web.archive.org/web/20170627063939/http://s1027.photobucket.com/user/GillBert74/library/Dreamcast?sort=3&page=1

(DEAD)http://www.retrocollect.com/News/how-to-attach-a-hard-drive-to-the-sega-dreamcast-a-load-games-via-dreamshell.html
https://web.archive.org/web/20190412175234/http://www.retrocollect.com/News/how-to-attach-a-hard-drive-to-the-sega-dreamcast-a-load-games-via-dreamshell.html

http://dcemulation.org/dumpcast/viewtopic.php?f=3&t=1749
https://web.archive.org/web/20200303020614/https://dcemulation.org/dumpcast/viewtopic.php?f=3&t=1749

(DEAD)http://www.theisozone.com/forum/viewtopic.php?f=25&t=47922
https://web.archive.org/web/20150516231339/http://www.theisozone.com/forum/viewtopic.php?f=25&t=47922

Tutorial de como por HD IDE no Sega Dreamcast sem cortar a carcaça


* https://web.archive.org/web/20171123220842/http://www.dreamcastbrasil.com.br:80/2015/03/23/tutorial-de-como-fazer-o-hd-ide-no-sega-dreamcast_sem-altera-quase-nada-nele/

https://web.archive.org/web/20180410024453/http://www.dreamcast.es/forum/viewthread.php?thread_id=2127&pid=14132

—————————————————————-
Other DC Websites
—————————————————————-
DCemulation
———–
https://dcemulation.org/index.php?title=Welcome_to_DCEmulation!

DC Talk
———–
https://www.dreamcast-talk.com/forum/app.php/portal
* https://www.dreamcast-talk.com/forum/viewforum.php?f=5
(Release Thread)

Dreamcast.org.ru forum
———————-
http://dreamcast.org.ru/forum/
* https://translate.google.com/translate?hl=&sl=auto&tl=en&u=http%3A%2F%2Fdreamcast.org.ru%2Fforum%2F

Dreamcast Programming
————————
http://mc.pp.se/dc/
* https://web.archive.org/web/20200320034235/http://mc.pp.se/dc/
http://mc.pp.se/dc/hw.html
* https://web.archive.org/web/20190823095010/http://mc.pp.se/dc/hw.html

————-
VMU Software
————-
Blue Swirl
———–
https://bswirl.kitsunet.org/
https://bswirl.kitsunet.org/vmu/game/

Booyaka.com – Dream Animator
—————————–
http://www.booyaka.com/games/vmu/dc-anim/dream.html
* https://web.archive.org/web/20000302210357/http://www.booyaka.com/games/vmu/dc-anim/dream.html
http://www.booyaka.com/games/vmu/index.html
* https://web.archive.org/web/20050207124544/http://www.booyaka.com/games/vmu/index.html

====================================================
Other links I have that aren’t G1-ATA related
=====================================================
———————————————————————–
Collector’s list of independent and unlicensed software for Dreamcast
———————————————————————–
https://www.dreamcast-talk.com/forum/viewtopic.php?f=5&t=10409

———————
NES To DC Controller
———————
http://devcast.dcemulation.org/mods/madnes/nes2.php
* https://web.archive.org/web/20200320045552/http://devcast.dcemulation.org/mods/madnes/nes2.php

———————————————————–
How to Piggyback a Dreamcast Controller on a Universal PCB
———————————————————–
https://www.instructables.com/id/How-to-Piggyback-a-Dreamcast-Controller-on-a-Unive/
* https://web.archive.org/web/20200320045828/https://www.instructables.com/id/How-to-Piggyback-a-Dreamcast-Controller-on-a-Unive/
https://web.archive.org/web/20080209142046/https://forums.shoryuken.com/showthread.php?t=131230

—————————-
Linux On DC Build From 2001
—————————-
https://web.archive.org/web/20070921002536/http://linuxdevices.com:80/articles/AT7466555948.html

——————–
NetBSD On Dreamcast
——————–
https://web.archive.org/web/20090826171113/http://netbsd.nedmirror.nl:80/ports/dreamcast/faq.html
https://web.archive.org/web/20041205210414/http://www.syncscroller.net/dc/dc-ide.html

————————
Dreamcast CDRW Tutorial
————————
http://f17.aaacafe.ne.jp/~takotako/g2bus.php
https://web.archive.org/web/20200320032325/http://semicolo.free.fr/Dreamcast/cdrw/

—————————————————
Old DC Central tutorials for burning, laser etc…
—————————————————
https://web.archive.org/web/20091026234222/http://geocities.com/dcentraltutor/
https://web.archive.org/web/20091025212719/http://geocities.com/dcentraltutor/tutorlaserlens.html

———-
Segatech
———-
https://web.archive.org/web/20161025171514/http://www.segatech.com/
https://web.archive.org/web/20161025004104/http://www.segatech.com/technical/index.html

—————-
Game Checklists
—————-
http://www.tweeg.psoarchive.com/collect/
* https://web.archive.org/web/20200320050817/http://www.tweeg.psoarchive.com/collect/

—————————–
Bleemcast Compatibility List
—————————–
http://www.whipassgaming.com/genesisreviews/Bleemcast/bleemcastcompatibility.htm
https://web.archive.org/web/20200320035306/http://www.whipassgaming.com/genesisreviews/Bleemcast/bleemcastcompatibility.htm

———————————
Marvel VS Capcom 2 Music Hacking
———————————
https://web.archive.org/web/20041112034541/http://www.shoryuken.com/forums/showthread.php?t=67472
https://web.archive.org/web/20110131192919/http://www.custommvc2.com/
https://web.archive.org/web/20041115183539/http://dhost.info/combomasher/Intro.htm
https://web.archive.org/web/20090116012629/http://www.cdrom-guide.com/forums/showthread.php?t=149409
https://web.archive.org/web/20180817054736/http://www.cdrom-guide.com/forums/showthread.php?t=72846

——————-
VMU External Power
——————-
https://www.dreamcast-talk.com/forum/viewtopic.php?f=2&t=487
https://web.archive.org/web/20200320033852/https://www.dreamcast-talk.com/forum/viewtopic.php?f=2&t=487

——————————————
Old Dreamcast Linux Dial Server Tutorial
——————————————
https://web.archive.org/web/20120403143814/http://www.kinox.org:80/articles/linuxdc.html

————————-
Revive DC
————————–
https://docs.google.com/spreadsheets/d/14fCQ3NXIlW1ZC_gjIejpQVPG34fLWmSoXYgSTyxdRWM/edit#gid=0
* https://web.archive.org/web/20170316032332/https://docs.google.com/spreadsheets/d/14fCQ3NXIlW1ZC_gjIejpQVPG34fLWmSoXYgSTyxdRWM/edit#gid=0

https://web.archive.org/web/20140703085940/http://theisozone.com/forum/viewtopic.php?f=53&t=5051#

https://web.archive.org/web/20200309003417/https://pastebin.com/u/revivedcproject

https://replayers.org/dc_group/nobs-dc/

https://web.archive.org/web/20140806222216/http://www.theisozone.com/user-uploads/atreyu187/

——–
LINKS
——–
https://www.dreamcast-talk.com/forum/viewtopic.php?f=2&t=239

Alright, lets get started

First, about the bridges. People seem to like those made by Startech.com. The ide2sata ones. I have one of Startechs usb to ide/sata, works nice. I do not have a compatibility list but a lot of other brands seem to work fine.

I cut the wire to about 6 inches to 12 inches in length. It’s hard to say how long to cut it because that all just depends on what you would like to do. If you are just going to cut a hole in the back of the Dreamcast I would make sure to use extra length because you are going to want extra room so you can easily plug in you HDD.

Now, nip the ends off and pull the wire back. (Do your self a favor and pull the wires a bit farther back than my pic) . Or, you can cut down the wires with an exacto knife.
IMG_0164

One thing I like to do is color every tenth wire so I’m not spending too much time counting through the wires.
IMG_0167

Now, I separate the Ground wires and pull them back. I also like to put a little bit of tape on the end of the wires marked “-(n/c)” in the scematic. I only do this as a means to separate the wire. These wires are not used in the mod. It just makes counting through the wires faster for me.
IMG_0168

Last, I like to strip and tin the wires. When I strip the wires for this mod, I like to keep a long wire length because it’s easier to solder. Then I like to nip the wire off before I solder, choosing the desired length. You also want to add solder to all the soldering pads that you are going to solder too.
IMG_0172
IMG_0179

Don’t forget to keep your DC nice after you take the thing apart. I like to tape the screws to each of the components that they came off of so I don’t loose them. Also,if you use the wrong screws to screw in the GD Rom drive, you will ruin the board. So, be careful.
IMG_0170IMG_0166

Starting the HDD mod on your Dreamcast

pins
DSC_0948

These are some pics I have found on the interwebs of the dreamcasts pins that we are going to solder to. Each point that you are going to solder to is designated with a number. These are found under the connector to the GD-rom drive.

DSC_0947

This is the diagram that I used. There is another cleaner looking diagram over at DC Swat, but this guy has all the grounds being connected to A8 and that is where we will be grounding our wires.

The numbers on the left, correspond to the wire number on the IDE cable we will be using, and the numbers on the right, correspond to the pin numbers (is that the proper term??) or the soldering points on the motherboard.

You need to use a 40 wire cable for the mod (or a 44 wire cable, Same pinout but with 4 extra wires to power a 2.5″ drive), Not an 80 wire. 80 wire cables have a ground placed in between every other wire to prevent the wires from interfering with each other, and on top of that, some companies have the odds grd and some have the evens. So, you can probably see why using a 40 or 44 wire cable might be a better idea.

Now, I choose to use a 40 wire cable for a couple of different reasons. The main reason is financial. 3.5” IDE drives are dirt cheap and easier to find at pawn shops and thrift stores. So, it’s nice to be able to hook up a really cheap drive and get some more use out of it.

Later I’ll show how I prepped my cable and I’ll talk more about the bridges I’ve seen people using to run things like Sata and compact flash. Thanks